TRIKE FRAMES-BITS AND PIECES. PART 2. |
TRIKE FRAMES-BITS AND PIECES. PART 2.
Hi. About time I scribbled down the second part of this series, but it’s a few weeks since the relevant parts were made so you’ll have to bear with me. |
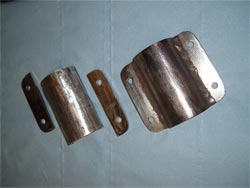
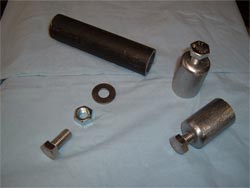
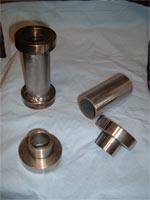
steel so we can weld them & are recessed to take the outer shell of the taper rollers. They’re about 3” in diameter & have a step on the underside that fits snugly inside a 1 ½” bore mild steel tube. We use plain, mild steel welded seam heavy gauge steam pipe for our frames -because it’s very cheap, (about a quid a foot), &, with a wall thickness of 1/8”, once it’s welded into a sensibly triangulated frame it’s as strong as a very, very strong thing. It may not be chrome moly or Reynolds but it’s wrapped around a 40bhp Reliant engine, not an R1. Take a look at the spindly little frame on your own bike & compare it to ours & you’ll see we’re more than strong enough to be safe. A quick dollop of weld, making sure we’ve got plenty of penetration, (!), for a nice strong joint & hey presto. One headstock. |
Next up is the axle clamps at the other end of the frame. These are easy. The Reliant axle we’re using has drive shaft tubes of 2” diameter. The pipe we use is measured by it’s internal bore size, so a 2” pipe will slide perfectly over the axle. A 4” long section was cut, sliced down it’s length to give 2 semi circular halves, then flanges made from 1/8” thick steel plate. Out with the welder again. Glue it all together. 2 pieces that will clamp around the axle & bolt together. An hour or two’s work gives us a matching pair, one for each side of the axle. Simple as that. Later, these have small locating tabs added that match ones welded direct to the axle & stop the whole thing turning in the clamps or sliding sideways. |
O.K, engine mounts would be nice. The main frame is built from 1” bore tube, (1 3/8” outside diameter). The Reliant engine has two front mounts that normally bolt flat onto the Reliant chassis. |
So we make up a couple of mounting “turrets” with internal captive nuts. These consist of an inch or so of the 1” frame tubing , a large washer & a mild steel 12mm nut. Weld the nut to the washer, turn it upside down & weld the washer into the end of the tube. Let it cool down & check the threads of the nut haven’t distorted in the heat of the welding by carefully screwing a 12mm bolt in. Fine. Clean the welds up & make it all look pretty with a big flat hand file & they’re done. Later the bottom end of each mount will be scalloped to fit over the frame tubing. I’ve ridden my two Reliant trikes with no rubber mounts of any kind with no noticeable engine vibration so the engine bolts directly to these “turrets” once they’re welded to the frame. |
Lastly for today, we need some gearbox mounts. Reliants have two bolts on the underside of the gearbox, exiting at roughly 45 degrees. A couple of pieces of 2” wide, 1/8” thick angle iron are used. Slotted for easy fitment of the bolts, these simply sit over a frame cross member & are welded in place. |
So that’s about it for today. Not a bad few hour’s work so time for a cup of tea & a cake I think. Maybe the text here is a bit confusing but hopefully the photos are self explanatory. Check out the Forum Gallery for a sneak preview of the frame we’re building, (Simon’s trike), showing all today’s parts in place. Assuming we haven’t inadvertently set fire to the garage with the welder, I’ll see you back here next time to start getting creative with the pipe bender. Your turn to supply the cake. |