How to make axle clamps |
 Right, let’s have a bash at making the clamps to hold the back axle into your new trike frame. Once again I’m giving full credit to Manky for the design, because I’ve not seen them anywhere else. Right, let’s have a bash at making the clamps to hold the back axle into your new trike frame. Once again I’m giving full credit to Manky for the design, because I’ve not seen them anywhere else. |
|
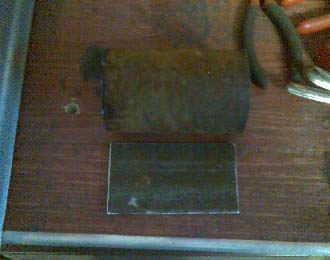
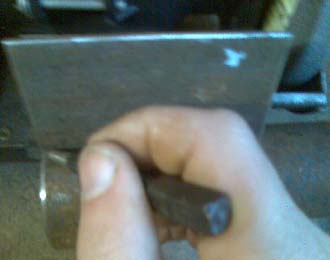
O.K, we know that Reliant axle tubes are 2" O.D, cos Andy said so, so we’re gonna need some 2" I.D pipe and some 3mm steel plate. My first problem was getting hold of the 2" I.D. I couldn’t get any! Now I could’ve popped along my local pipe supplier & spent a fortune buying 6 metres of the stuff, but being a skinflint, I didn’t. I dug out some 50mm bore pipe that I had laying in the shed. I also dug out some 2" O.D pipe which I’ll use as a temporary axle tube. |
|
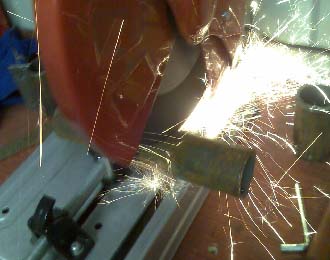
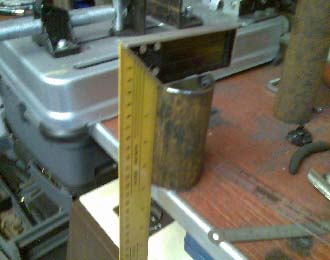
First job then is to cut it to length, 4" in this case. Easy enough cos I recently bought myself one of them fancy cut off saws. So into the vice, measure 4" from the end of the pipe to the cutting disc, clamp it up tight and cut 2 pieces. |
|
|
 |
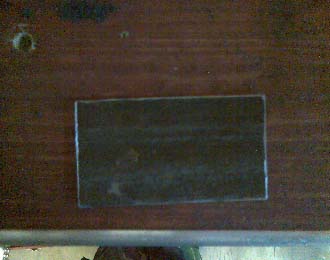
While I’ve got the saw warmed up, I cut the 3mm plate. 4" long by 2" wide, and you’re gonna want 8 of these. 2" is slightly wider than we need so I’ll trim it later. It’s just that the plate I had happened to be that width, but it has to be 4" long cos that’s the length of our clamps. |
|
 |
 |
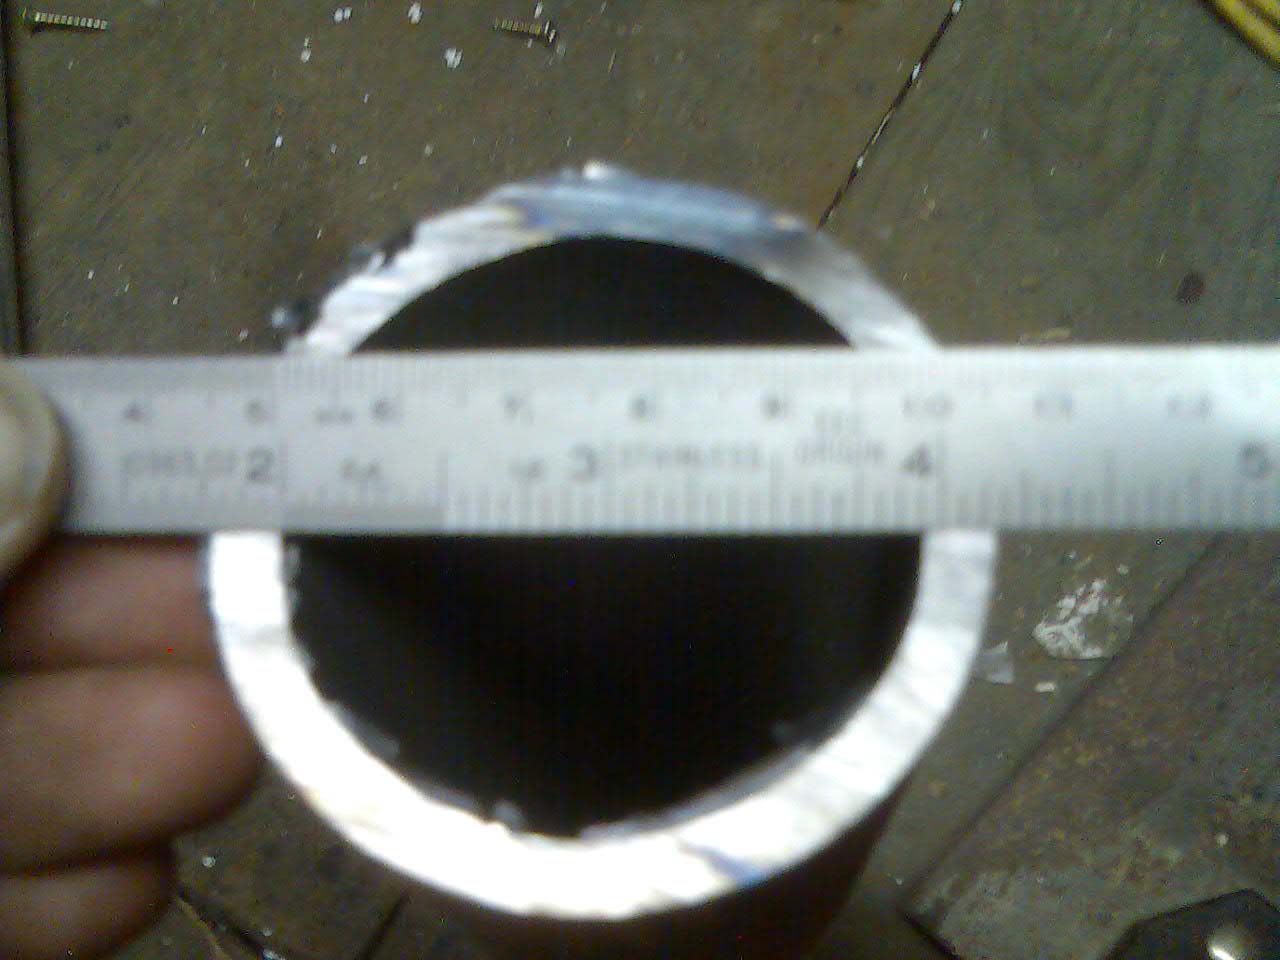
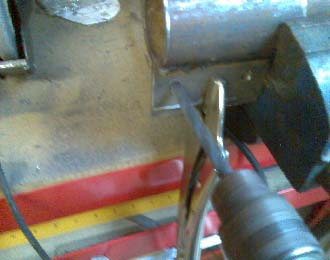
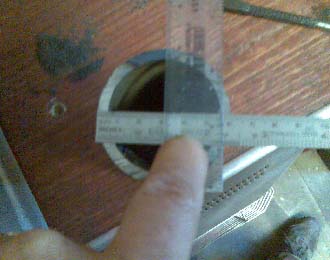
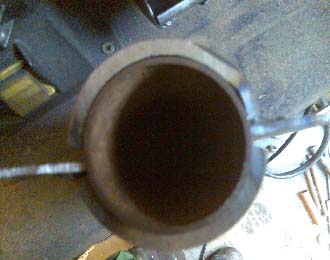
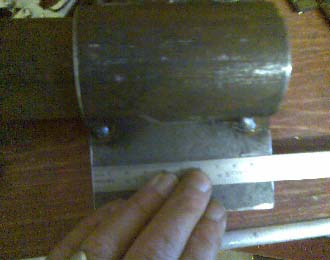
So far, so good. Tricky bit next -slicing the pipe in half lengthways. To do this I first used a steel rule to measure across the O.D of the pipe. 60mm. Then I got a plastic rule and measured the other way -no prizes for guessing that too was 60mm. More importantly, where the 2 rules crossed was the centre of the pipe and this enabled me to mark the halfway point on the pipe wall. Just one point, when you’re doing this, make sure one of your marks lines up with the inside weld seam. This will save you trying to grind it out later. |
|
 |
 |
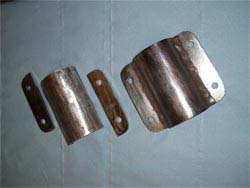
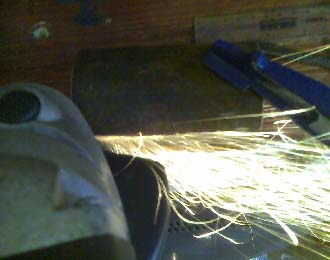
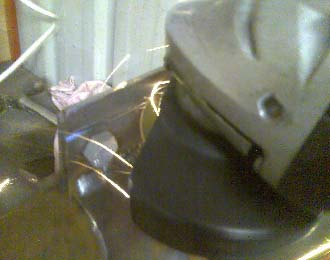
Having scribed the half way point, I now needed to mark down the length of the pipe. You can use anything with a 90 degree angle to do this. I used a cheap engineer’s square –that’s a cheap square, not a cheap engineer. I lined it up at the top on my mark then scribed down the straight edge to mark the length, then I did the same down the other side. Time to dig out the angle grinder and slit the pipe. Make sure your pipe is held securely when you do this! Take it slow and try to get the grinder at a 90 degree angle to the pipe, working along your line. Do this down the other side as well and you’ll now have the two halves of one clamp. So do it all again to the second bit of pipe we cut and you’ll have 4 halves, which is what we need. Give them a quick going over with the grinder to de burr all the edges and tidy up what remains of the internal weld seam and they should look something like this. |
|
 |
 |
So now we’ve got the pipe sorted, let’s put it on the ‘axle jig’, which is the 2" O.D pipe I mentioned earlier. 2 things to note: firstly, the 50mm I.D pipe I’m using isn’t a snug fit around the axle, but it will clamp up better so I’m not worried, and secondly, the two halves don’t meet! |
|
Because I used the angle grinder with a cutting disc fitted to slit the pipe, I lost 3mm -the thickness of a cutting disc, each side. But as we’re using 3mm plate to make the flanges, it’s O.K. Next we tack weld one flange to one half of the pipe, and then another flange to the other half on the opposite side. This will fill the 3mm gap I made when I slit the pipe |
|
 |
 |
 |
 |
Now to even things up a bit, I take another flange and place it in position alongside one we just welded, then mark down it’s length. Then we need to cut or grind the metal away, back to our line. Do the same again on the opposite side and hey look -we now have a 3mm gap either side again! |
|
 |
 |
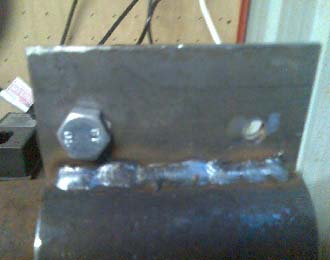
Slide the remaining 2 flanges into the gaps down either side and tack weld those in place. Then clamp the two halves together. This will hold the flanges in position to stop them distorting under the heat and pull the two halves of the clamp tighter around the ‘axle’. Then weld everything up fully. |
|
 |
 |
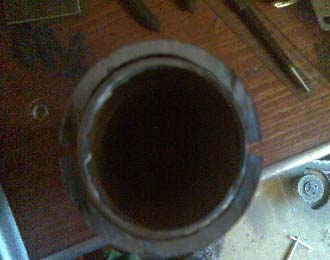
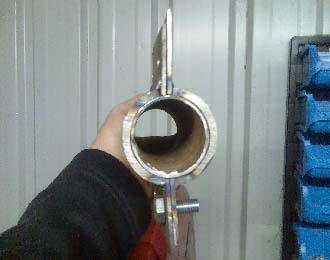
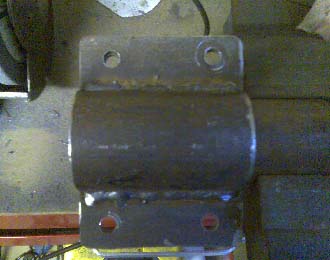
Let it all cool down and have a quick check that it all still fits snugly around the 2" jig |
|
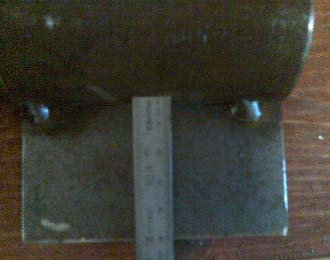
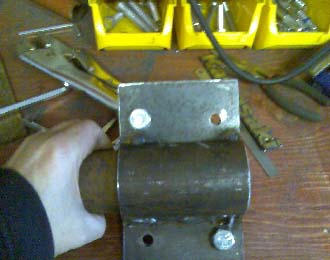
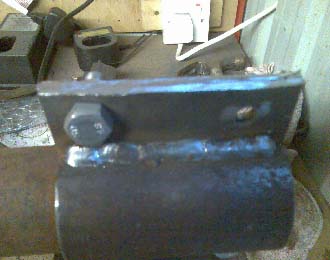
Now we gotta drill the bolt holes. I marked mine out before I fully welded but it doesn’t matter if you do them after. Gonna be making 10mm holes to take some chunky 10mm bolts, so I measured 15mm in from the slit pipe and 15mm in from each side of the flange and marked this with a centre punch. When drilled out, the holes will be 10mm in from each side with a 60mm gap between. They don’t have to be but I liked them that way. |
|
 |
 |
Drill a small 2mm pilot hole to start with, then straight through with a 10mm bit taking it nice and slow. Then screw the 10mm bolts through to make sure the holes are straight. |
|
 |
 |
That should give you 4 nice evenly spaced holes, and when nuts are added to the back of the bolts, a clamp that …erm clamps, tightly around your axle. |
|
 |
 |
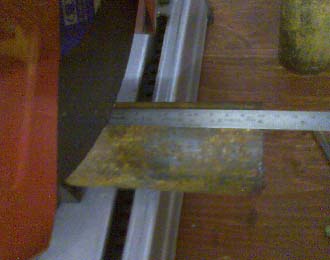
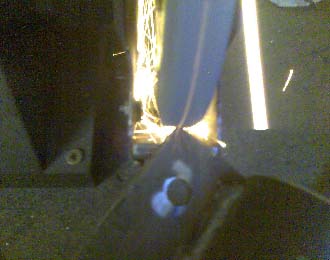
Right, time to even up those flanges. I measured out from the inner edge to somewhere that looked good, 35mm in this case, and marked my line. Then clamped the mount in a vice and, using a cutting disc in the angle grinder, I simply cut through both flanges at the same time. Flip it over and cut the opposite side. |
|
 |
 |
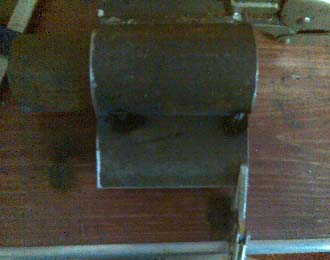
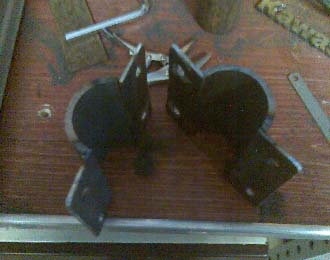
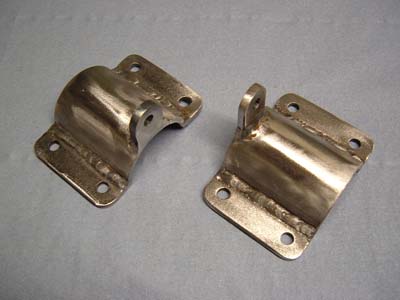
All that needs doing now is to round off the corners. Don’t suppose you have to, but hey, why not? Nothing fancy here -do I ever do anything fancy?! Simply grind the corners off to a nice radius, you can pre-draw this if you like, but I just did mine by eye. One axle clamp with nice rounded ears. |
|
 |
 |
While we’re on the subject of shape, these flanges are simple rectangles but there’s nothing stopping you being creative and adding a little flare to the shape of the flange. Not drawn properly, but these show how you can personalise them any way you wish. Give ‘em a quick run over with the grinder to remove the burrs and sharp edges and there you have it! |
|
 |
 |
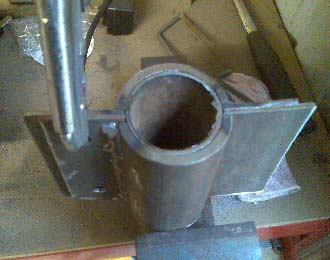
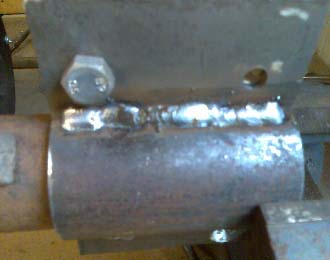
Once your finished clamps are fitted, you'll need some way of stopping the axle turning in the clamps or sliding sideways. The usual MMMotors way is to simply weld a tab to the clamp & a corresponding one to the axle itself, then bolt them together. This isn't the only way of holding your axle in place, but it may be the simplest. |
 |
-TBone |
|