 |
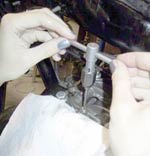
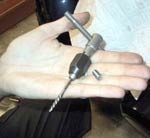
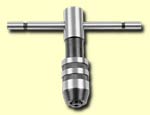
Every report I've read about screw extractors says to use a tap wrench with the extractor bit, and not a normal wrench/spanner/grips etc... Apparently the extractor bits are easily broken when using a normal wrench -- I don't know for sure, because I didn't risk it, but I pass on the warning. The tap wrench worked perfectly for me; I bought one with a T-handle, which adjusts to hold very small bits all the way up to 1/2" bits (you'll want to compare the measurements on the extractor box with those on the tap wrench box). The end looks sort of like a drill chuck; you just slide your extractor bit in and turn a little collar to tighten it. That's all. |
Before You Start:
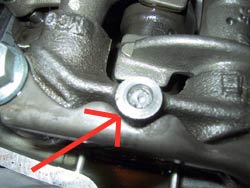
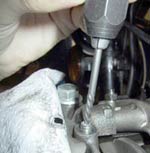
Look at your broken bolt and determine what size drill bit to use. You want one that will take up most of the inner diameter of your bolt, without damaging any of the metal housing surrounding the bolt. Then, pick out the corresponding screw extractor bit. If you get a kit, like the one pictured above, it's very easy to tell which bits go together; there's a one-to-one correspondence within the kit. If you already have drill bits, and are buying just one extractor bit, make a note of the drill bit diameter. The extractor bit's box should say which drill bit it'll work with. Make sure you get the right one, because you really don't want the extractor bit breaking off inside the broken bolt. Also make sure that your tap wrench will hold the size of extractor bit that you need. Again, compare the measurements on the boxes.
Lets Get Started:
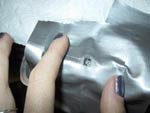
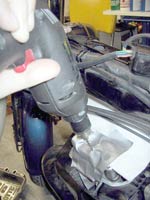
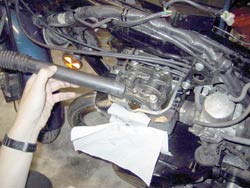
The first thing to do once your tools are assembled is to prepare the work space. Drills will produce little metal shavings, so if your bolt kindly broke off in an area of your bike which is sensitive to little metal shavings, you'll want to make a little surgical |